

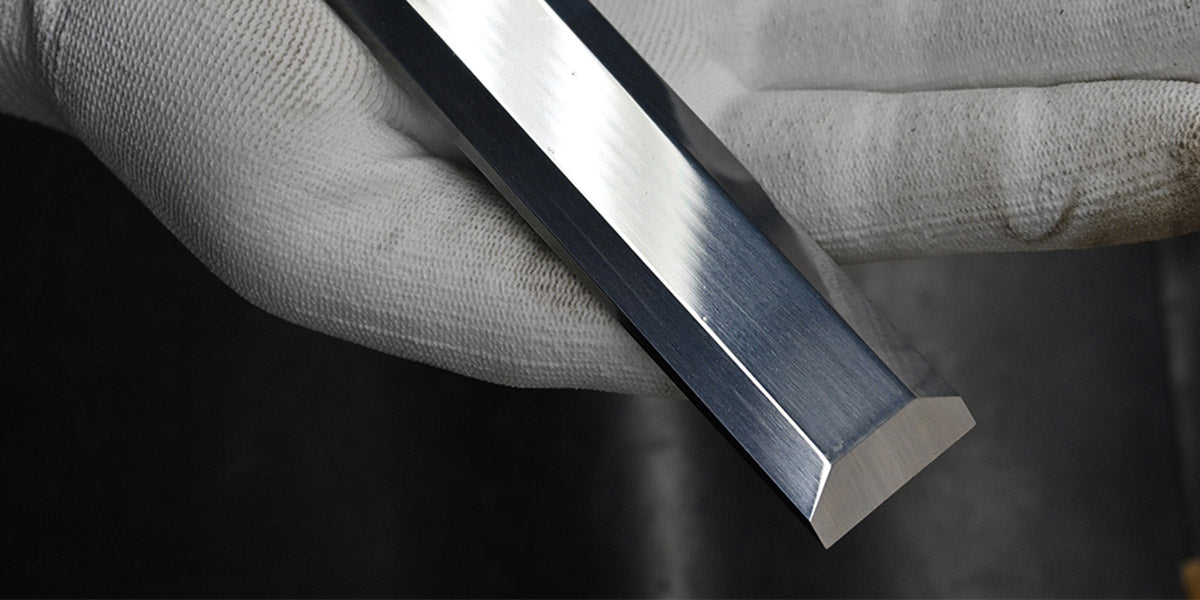
CHISEL SHARPENING 101
The most important rule of using chisels is that it should be above all, sharp. We'll take you through how to resharpen and hone used chisels and what to do when your chisel has a nick.
Resharpen and hone used chisels
There are several ways to sharpen the edge of a chisel. Wet grinding machines, belt sanders, or manually with whetstones and sharpening stones, which is the method we'll be exploring in this article.
Important rule: Never use a high-speed dry grinding wheel to sharpen a chisel, as this will overheat the material. The steel will become "annealed" again and can no longer be worked as the hardness will have been lost.
In this article we will be going step-by-step on how to sharpen and hone a Kirschen chisel. For information on sharpening a brand new Kirschen chisel please see our new chisel preparation guide.
STEP 1: EQUIPMENT
What you'll need to get started:
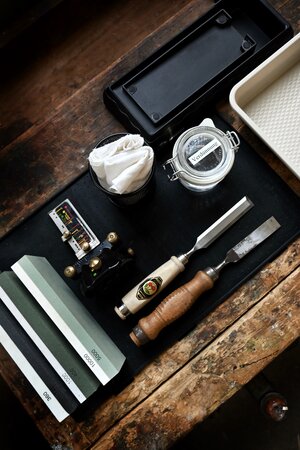
Your work surface should be waterproof and large enough to hold all your tools. Your Sharpening Stones should be prepared with the lubricant specified by their manufacturer. Protect your wooden workbench from water, oil and sharpening residue rather than placing the stones directly on it. A silicone or rubber mat is perfect for this, as these are non-slip and impervious to moisture. Alternatively if your sharpening stone comes with a tray, even better.
YOUR SUPPLIES:
- A waterproof mat and/or sharpening stone tray
- A shallow water container, if your stones require soaking
- 1-2 old cotton cloths or a roll of paper
- Sharpening stones with different grits (more info below)
- The lubricant specified for your stones (water or suitable honing oil)
- A Sharpening Guide (we recommend Veritas or Lie Nielsen)
- Chisels
- Good lighting conditions
Which stones are needed?
We recommend the following stones:
- 120 | 360 Grinding and dressing stone
- 400 | 1000 Fine polish
- 5000 | 10000 Polishing/Removing
A good size is stones approximately 200x75x25 mm.
STEP 2:
Sharpening the cutting edge
If you're ready to resharpen your Kirschen chisels after multiple uses, it's now quick and easy.
The back of the blade is already ground flat and your micro-bevel is already formed (read the new chisel preparation guide if you're unsure).
Now you just need to clamp your chisel in your Sharpening Guide, set the desired angle, and start with a fine stone, starting at 1000 grit. If you want to achieve absolute sharpness, follow the sharpening pattern listed below.
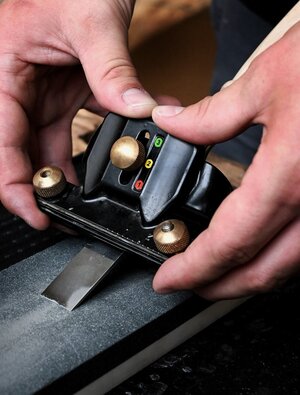
Insert the chisel into the Grinding Guide and select the desired angle. The cutting edge of the KIRSCHEN chisel is factory-ground to 25°. For fine honing, we recommend a micro-bevel angle of approximately 28°–30°, slightly steeper than the existing cutting edge angle.
Tip: The harder the wood, the steeper the cutting angle needs to be. However, this should not be steeper than 35°-40° as a general rule of thumb.
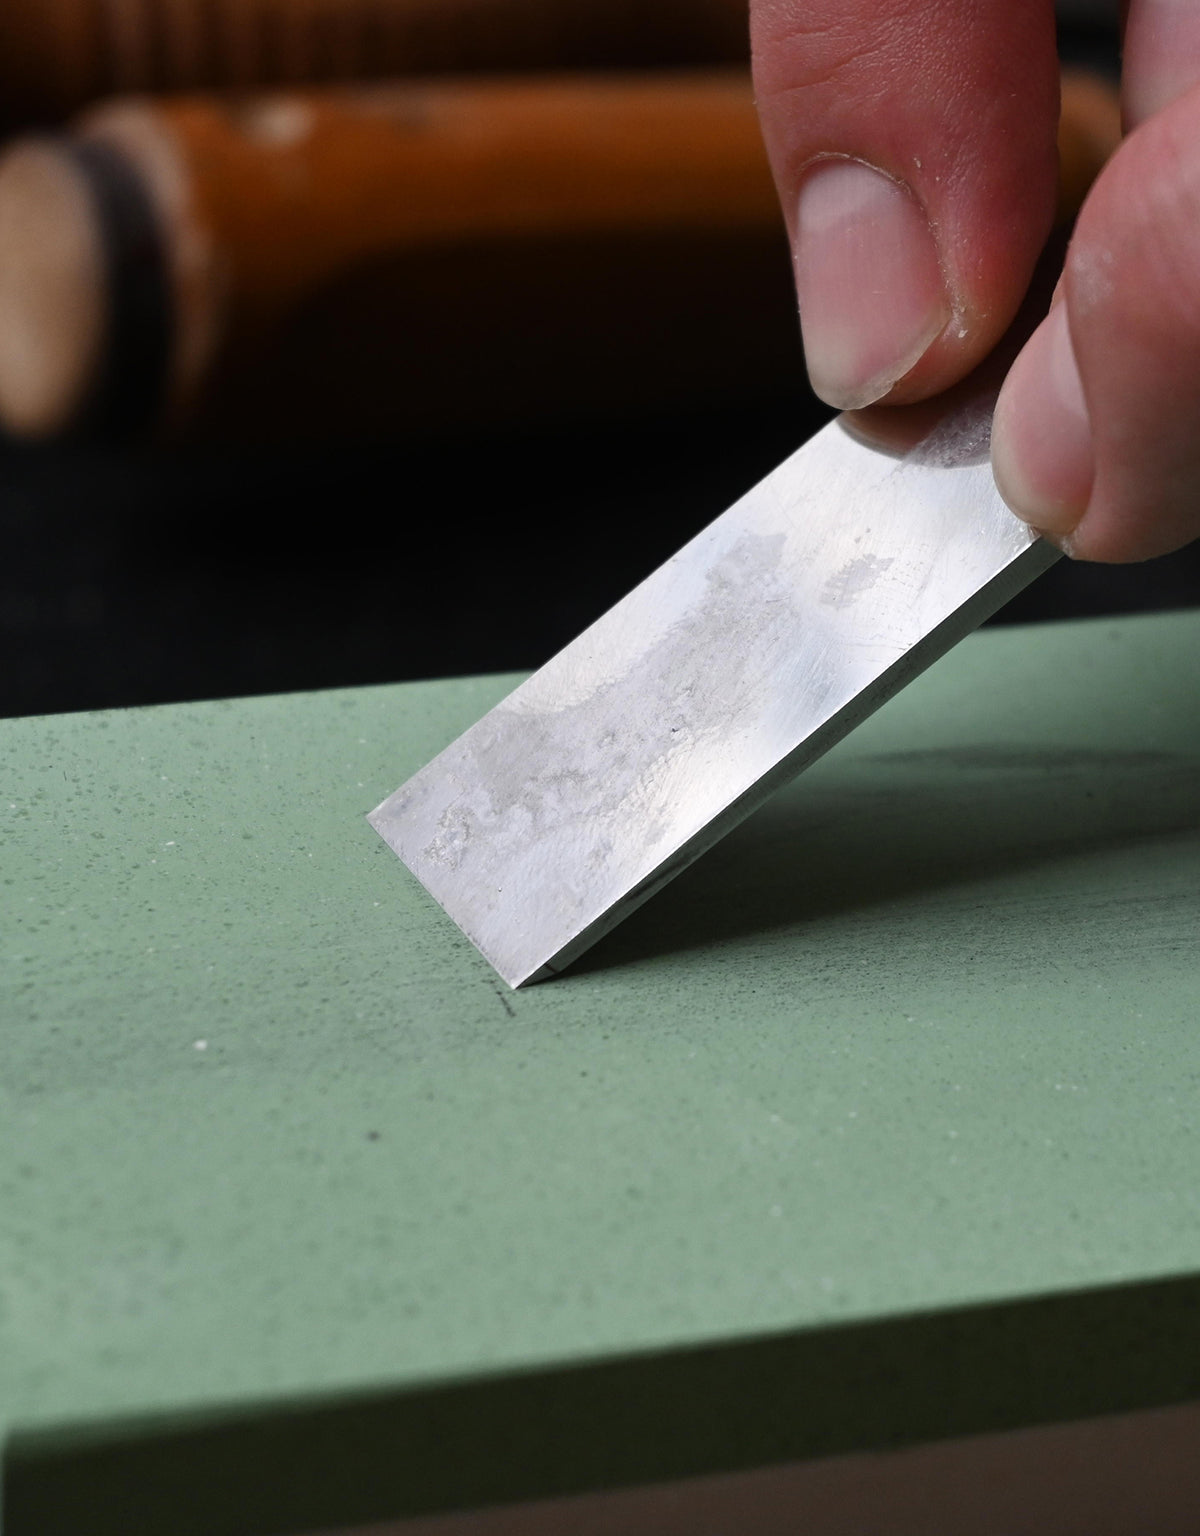
With the chisel firmly in the Sharpening Guide, draw back (not push) across the entire surface of the stone several times. The process is only complete when a burr has formed on the back of the edge across its entire width!
We can remove the burr on the back side with the previously used stone in 2-3 sharpening passes. CAUTION: The edge must not develop a counter-bevel on the back side!
Important: The edge should not be pushed across the stone, as this risks the edge getting stuck and, in the worst case, damaging both the edge and the stone. The edge is only sharpened during the pulling motion. The sharpening guide is slightly lifted during the forward movement.
Use your entire upper body for the pulling motion, as described above.
Repeat this process until the desired sharpness is achieved. You can make the grind finer each time after removing the burr from the back of the blade, and you should remove the burr from the back of the blade every time you hone the edge.
The sharpening pattern
To finish your chisel sharpening use a wetstone (5000/10000 grit) and repeat the process according to the rule of 6:
6 strokes honing the edge – 6 strokes removing the burr on the back side;
5 strokes honing the edge – 5 strokes removing the burr on the back side;
4 strokes honing the edge – 4 strokes removing the burr on the back side;
3 strokes honing the edge – 3 strokes removing the burr on the back side;
2 strokes honing the edge – 2 strokes removing the burr on the back side;
1 stroke honing the edge – 1 stroke removing the burr on the back side.
Your chisel is now ready to go and has reached an exceptional level of sharpness.
Never forget to put on an edge protector and protect your blade with a light film of oil!
Tip: After sharpening, clean, dry and store your stones according to their manufacturer’s instructions. Drying requirements vary by stone; avoid direct heat and do not enclose a damp stone unless its storage instructions permit it.
Repair a chisel with a nick
An absolute worst-case scenario. You look away for just a moment and the chisel falls to the ground or gets caught in a nail. It happens to the best of us, and it requires a bit of work.
The edge needs to be re-sharpened, so you'll need to get the coarse stones out of the shelf again. We need to start with the coarsest stone and set the cutting angle to approximately 25°. This time, we'll grind down the entire edge until all the nick is gone and the edge looks practically new. This can take a few minutes.
Once you've done that, you'll be able to complete 'The sharpening pattern' steps above.
Tip: Once you've finished all the sharpening, the still-wet stones need to be dried in the fresh air. We recommend storing the stones upright for about 3-4 days to prevent mold growth.
SIMILIAR ARTICLES
Use, care and sharpening
Preparing your chisels
Chisel care and storage
Sharpening and repairing