

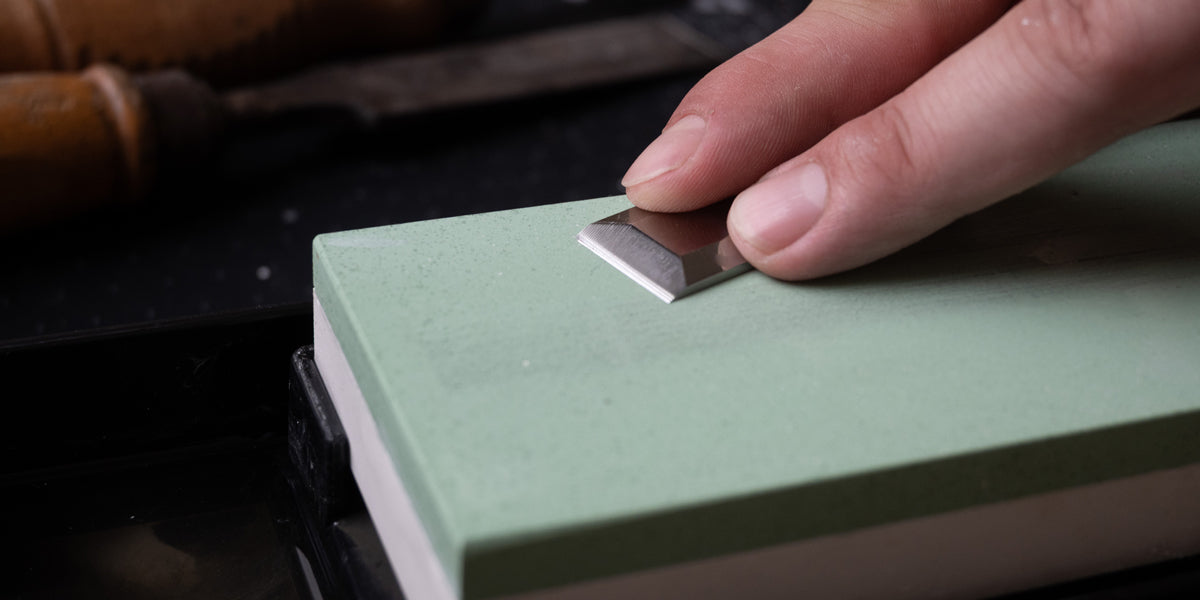
CHISEL PREP 101
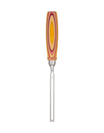
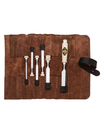
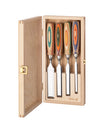
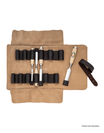
The most important rule of using chisels is that it should be above all, sharp. We'll take you through how to prepare your new Kirschen chisels for the best experience.
Where to begin
There are several ways to sharpen the edge of a chisel. Wet grinding machines, belt sanders, or manually with whetstones and sharpening stones, which is the method we'll be exploring in this article.
Important rule: Never use a high-speed dry grinding wheel to sharpen a chisel, as this will overheat the material. The steel will become "annealed" again and can no longer be worked as the hardness will have been lost.
In this article we will be going step-by-step on how to prepare new Kirschen chisels. For information on sharpening and fixing used chisels please see our sharpening and repair guide.
STEP 1: EQUIPMENT
What you'll need to get started:
Your work surface should be waterproof and large enough to hold all your tools. Your Sharpening Stones should be prepared with the lubricant specified by their manufacturer. Protect your wooden workbench from water, oil and sharpening residue rather than placing the stones directly on it. A silicone or rubber mat is perfect for this, as these are non-slip and impervious to moisture. Alternatively if your sharpening stone comes with a tray, even better.
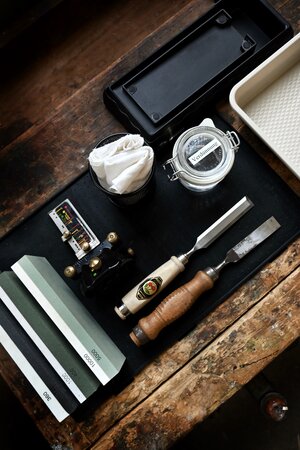
YOUR SUPPLIES:
- A waterproof mat and/or sharpening stone tray
- A shallow water container, if your stones require soaking
- 1-2 old cotton cloths or a roll of paper
- Sharpening stones with different grits (more info below)
- The lubricant specified for your stones (water or suitable honing oil)
- A Sharpening Guide (we recommend Veritas or Lie Nielsen)
- Chisels
- Good lighting conditions
Which stones are needed?
We recommend the following stones:
- 120 | 360 Grinding and dressing stone
- 400 | 1000 Fine polish
- 5000 | 10000 Polishing/Removing
A good size is stones approximately 200x75x25 mm.
STEP 2: PREPARATION
Preparing the stones
Waterstones and oilstones are designed for particular lubricants. Before using a sharpening stone, check the manufacturer’s instructions for the correct liquid and any preparation required. Do not assume that oil and water are interchangeable.
Some waterstones require soaking, while others need only water on the surface. If soaking is specified, follow the recommended time; do not apply a general 10-minute soaking rule to every stone. Use honing oil only where the manufacturer permits it, and do not switch an oil-used stone to water unless its instructions allow this.
Place the prepared stone securely on a waterproof, non-slip mat or in its sharpening tray. Keep its working surface lubricated as directed during sharpening.
STEP 3:
Removing the protection layer
It's essential to remove the thin layer of corrosion protection (varnish) beforehand to prevent the porous sharpening stone from clogging. This can be done in seconds with thinner and a cloth. You can decide whether to remove the varnish from the entire blade or just the front third.
Important: Once the varnish is removed, the blade is no longer protected from rust! From that moment on, you should regularly wipe the blade with an oily cloth, especially before prolonged periods of non-use.
STEP 4:
Grinding the reverse side
When preparing a new chisel, you always start with the back side, i.e., the reverse side of the chisel. This is not perfectly flat due to manufacturing reasons (you can't see this with the naked eye) and should be worked on first. Once the back side of the chisel is ground flat, you won't need to touch it again, providing the chisel remains undamaged.
Start with a coarse stone (400 grit) and place the mirror side (reverse side) against the stone.
Make a few passes along the stone, back and forth, ensuring the blade lies flat and clean on the surface. You can alternate between circular and straight sharpening motions. Make sure you use the entire surface of the stone so it wears down evenly. After just a few sharpening passes, you'll notice the mirror-like surface wearing down more towards the outer edge.
Tip: Always use your entire upper body, not just your arms. This ensures better tool control, allowing you to work more precisely and with greater control. Keep both arms slightly perpendicular to your body.
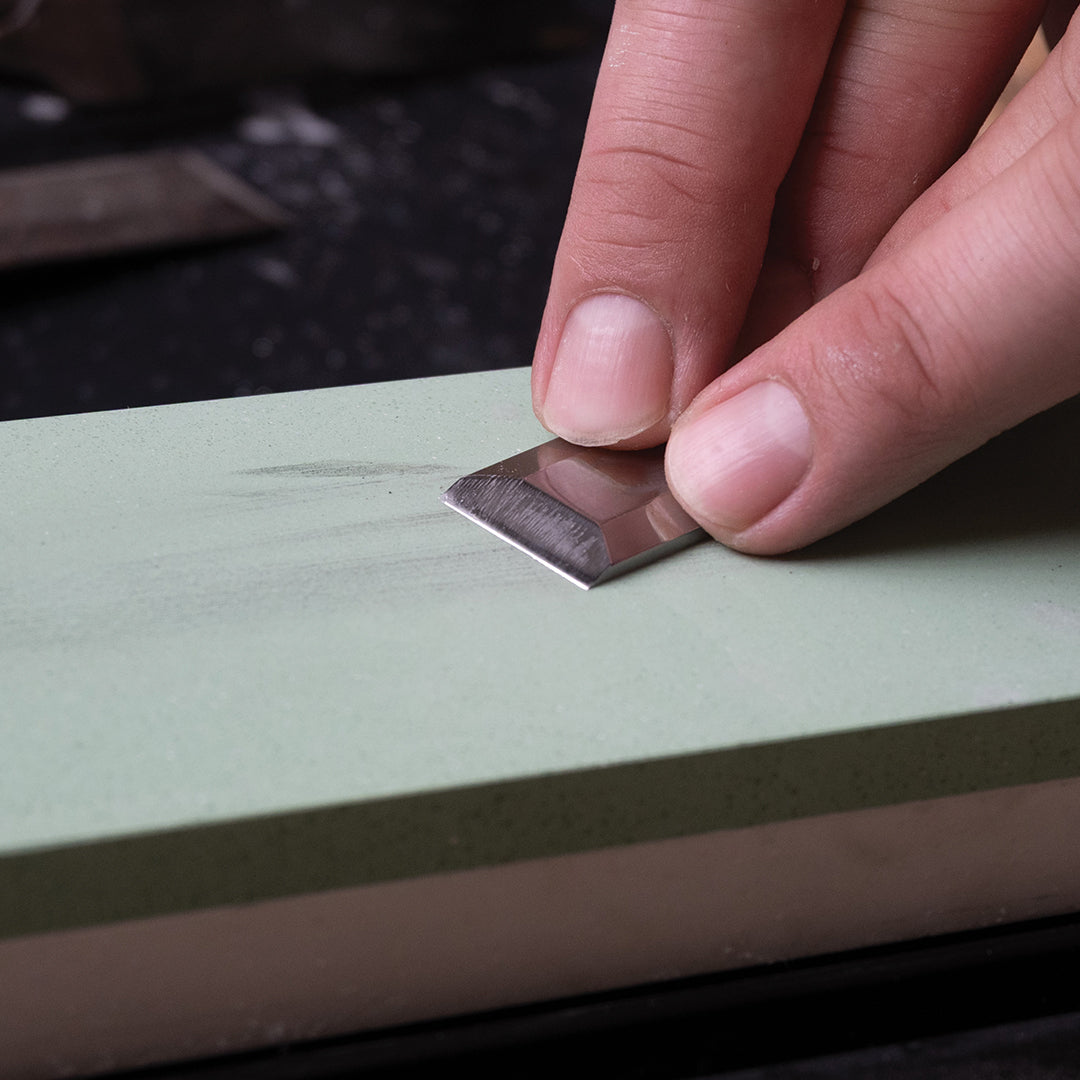
After further grinding strokes, the mirror-like surface is ground flat. This process takes approximately 3-8 minutes, depending on the blade width and your experience. As mentioned, this process is usually only required one time.
Once the mirror-like surface has been roughly ground, you can gradually use finer grits to bring the shine back. You can also polish the already pre-ground mirror-like surface with a fine wet stone (5000/10000 grit).
Tip: Always remember to clean the blade after each sharpening process so that the sludge produced during the sharpening process is not constantly redistributed onto the stone.
STEP 5:
Sharpening the cutting edge
Congratulations! The back side is now finished. It takes a few hours of practice to master this perfectly. But with each chisel you use, you'll develop a better feel for it, and the grinding pattern will become increasingly clean – guaranteed.
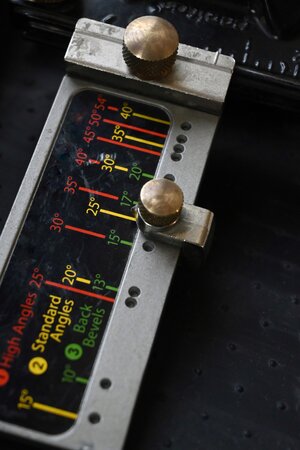
Next up is the cutting edge. You will need your Sharpening Guide. There are several high-quality manufacturers of such guides, like Veritas or Lie Nielsen, who have already done excellent work and perfected this practical tool. Both have advantages and disadvantages, which we won't discuss here.
The surface grinding of the mirror side (reverse) will have created a burr on the cutting edge, which we now have to grind away along with the honing of the cutting edge.
Begin by inserting the chisel into the Grinding Guide and select the desired angle. The cutting edge of the KIRSCHEN chisel is factory-ground to 25°. For fine honing, we recommend a micro-bevel angle of approximately 28°–30°, slightly steeper than the existing cutting edge angle.
Tip:The harder the wood, the steeper the cutting angle needs to be. However, this should not be steeper than 35°-40° as a general rule of thumb.
As we're working with a new, unused chisel a micro-bevel will be sufficient. We can begin with finer stones, starting at grit 1000 or higher.
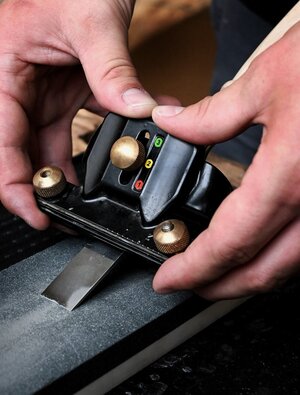
With the chisel firmly in the Sharpening Guide, draw back (not push) across the entire surface of the stone several times. The process is only complete when a burr has formed on the back of the edge across its entire width!
We can remove the burr on the back side with the previously used stone in 2-3 sharpening passes. CAUTION: The edge must not develop a counter-bevel on the back side!
Important: The edge should not be pushed across the stone, as this risks the edge getting stuck and, in the worst case, damaging both the edge and the stone. The edge is only sharpened during the pulling motion. The sharpening guide is slightly lifted during the forward movement.
Use your entire upper body for the pulling motion, as described above.
Repeat this process until the desired sharpness is achieved. You can make the grind finer each time after removing the burr from the back of the blade, and you should remove the burr from the back of the blade every time you hone the edge.
STEP 6:
The finishing touches
To finish your chisel preparation use a wetstone (5000/10000 grit) and repeat the process according to the rule of 6:
6 strokes honing the edge – 6 strokes removing the burr on the back side;
5 strokes honing the edge – 5 strokes removing the burr on the back side;
4 strokes honing the edge – 4 strokes removing the burr on the back side;
3 strokes honing the edge – 3 strokes removing the burr on the back side;
2 strokes honing the edge – 2 strokes removing the burr on the back side;
1 stroke honing the edge – 1 stroke removing the burr on the back side.
Your chisel is now ready to go and has reached an exceptional level of sharpness.
Never forget to put on an edge protector and protect your blade with a light film of oil!
SIMILIAR ARTICLES
Use, care and sharpening
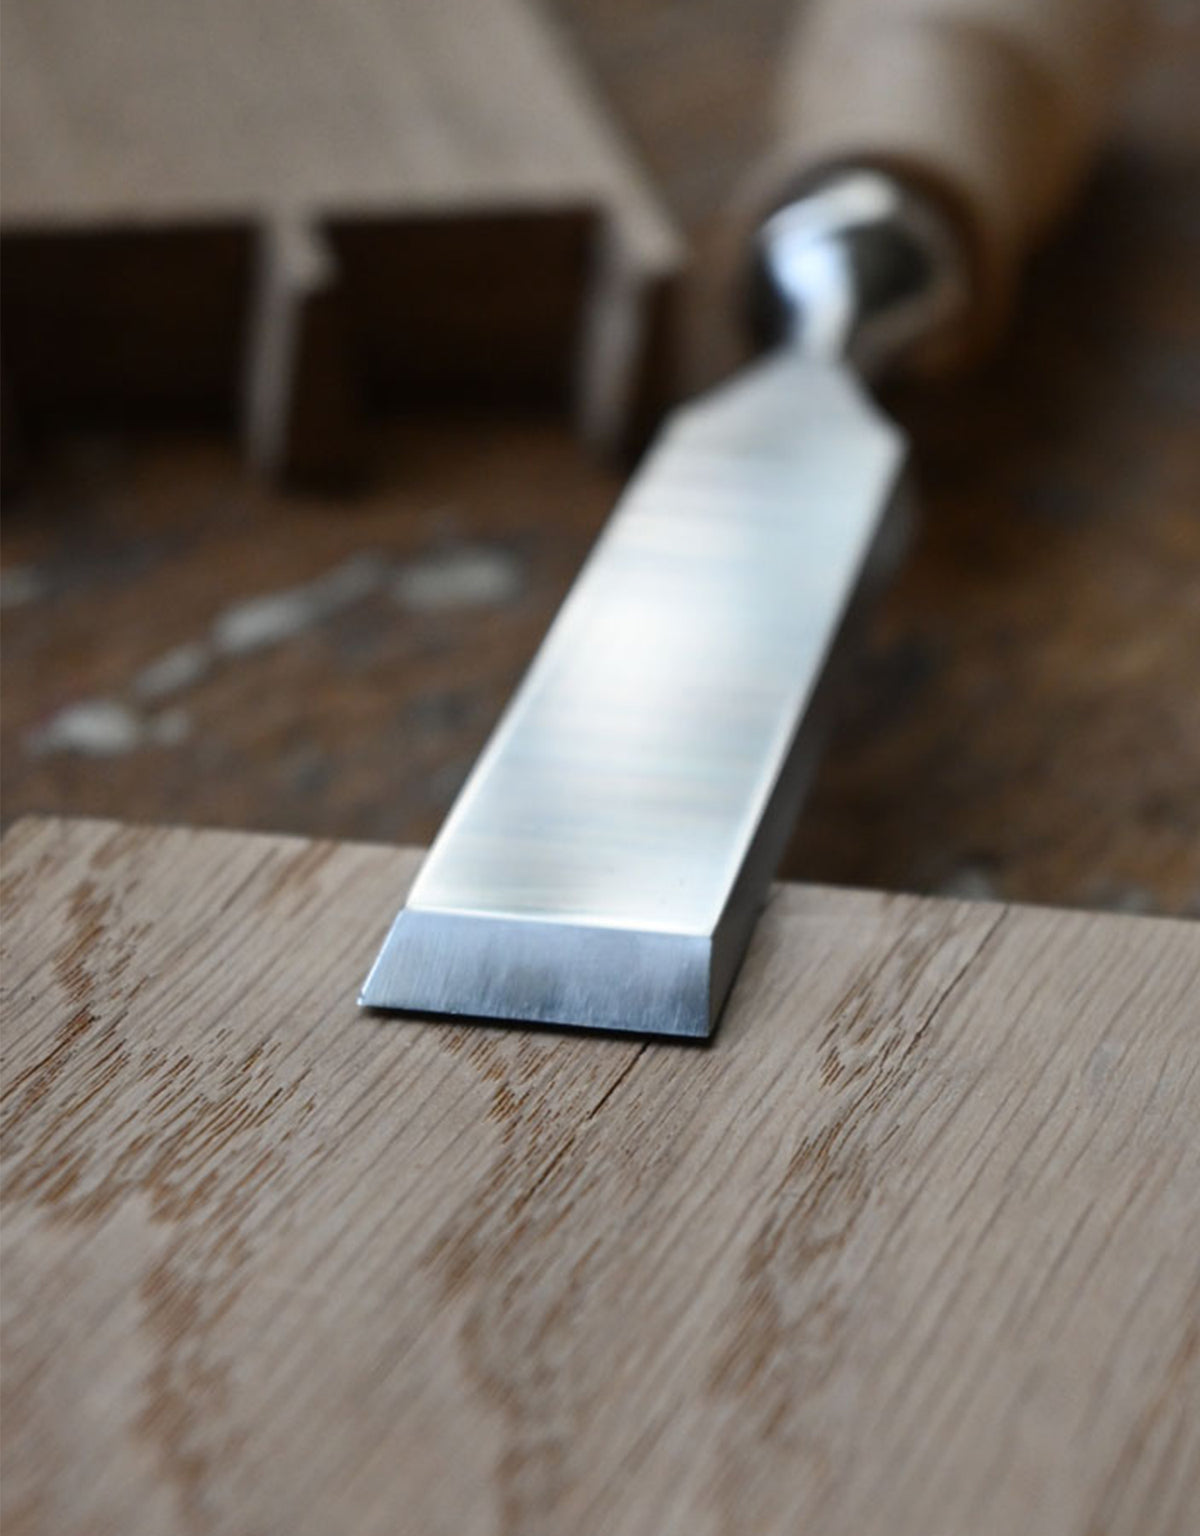
Preparing your chisels
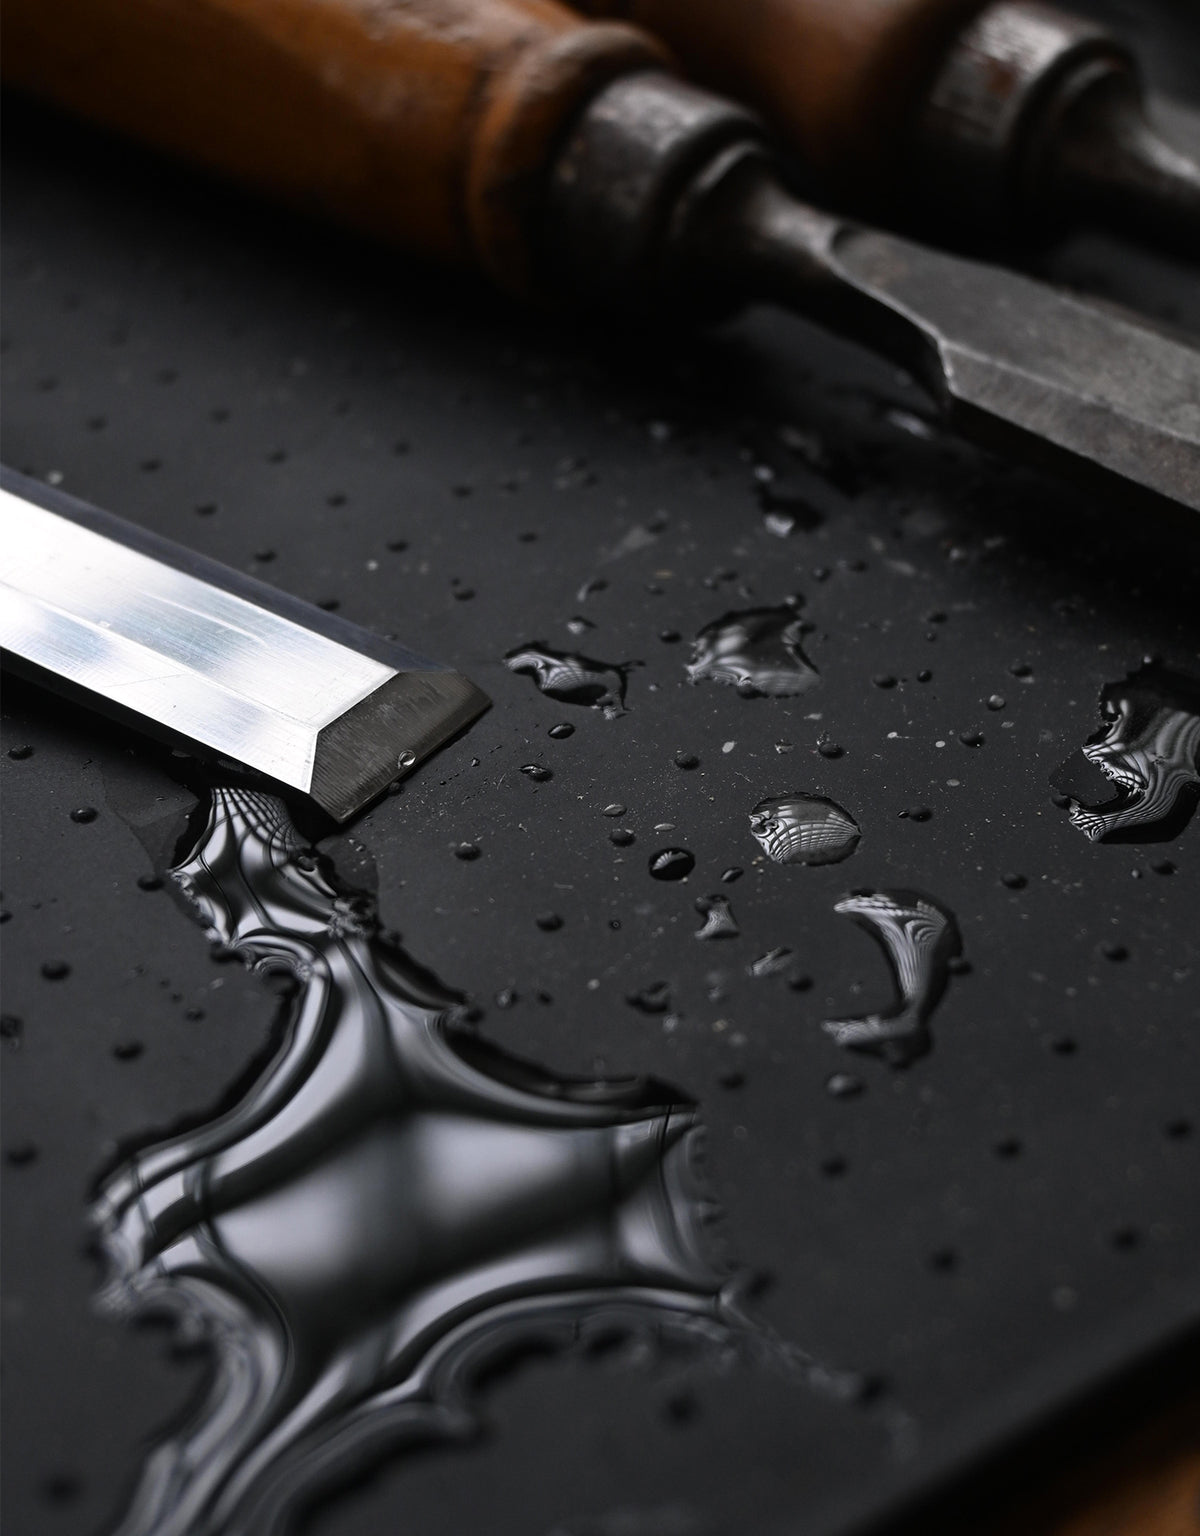
Chisel care and storage
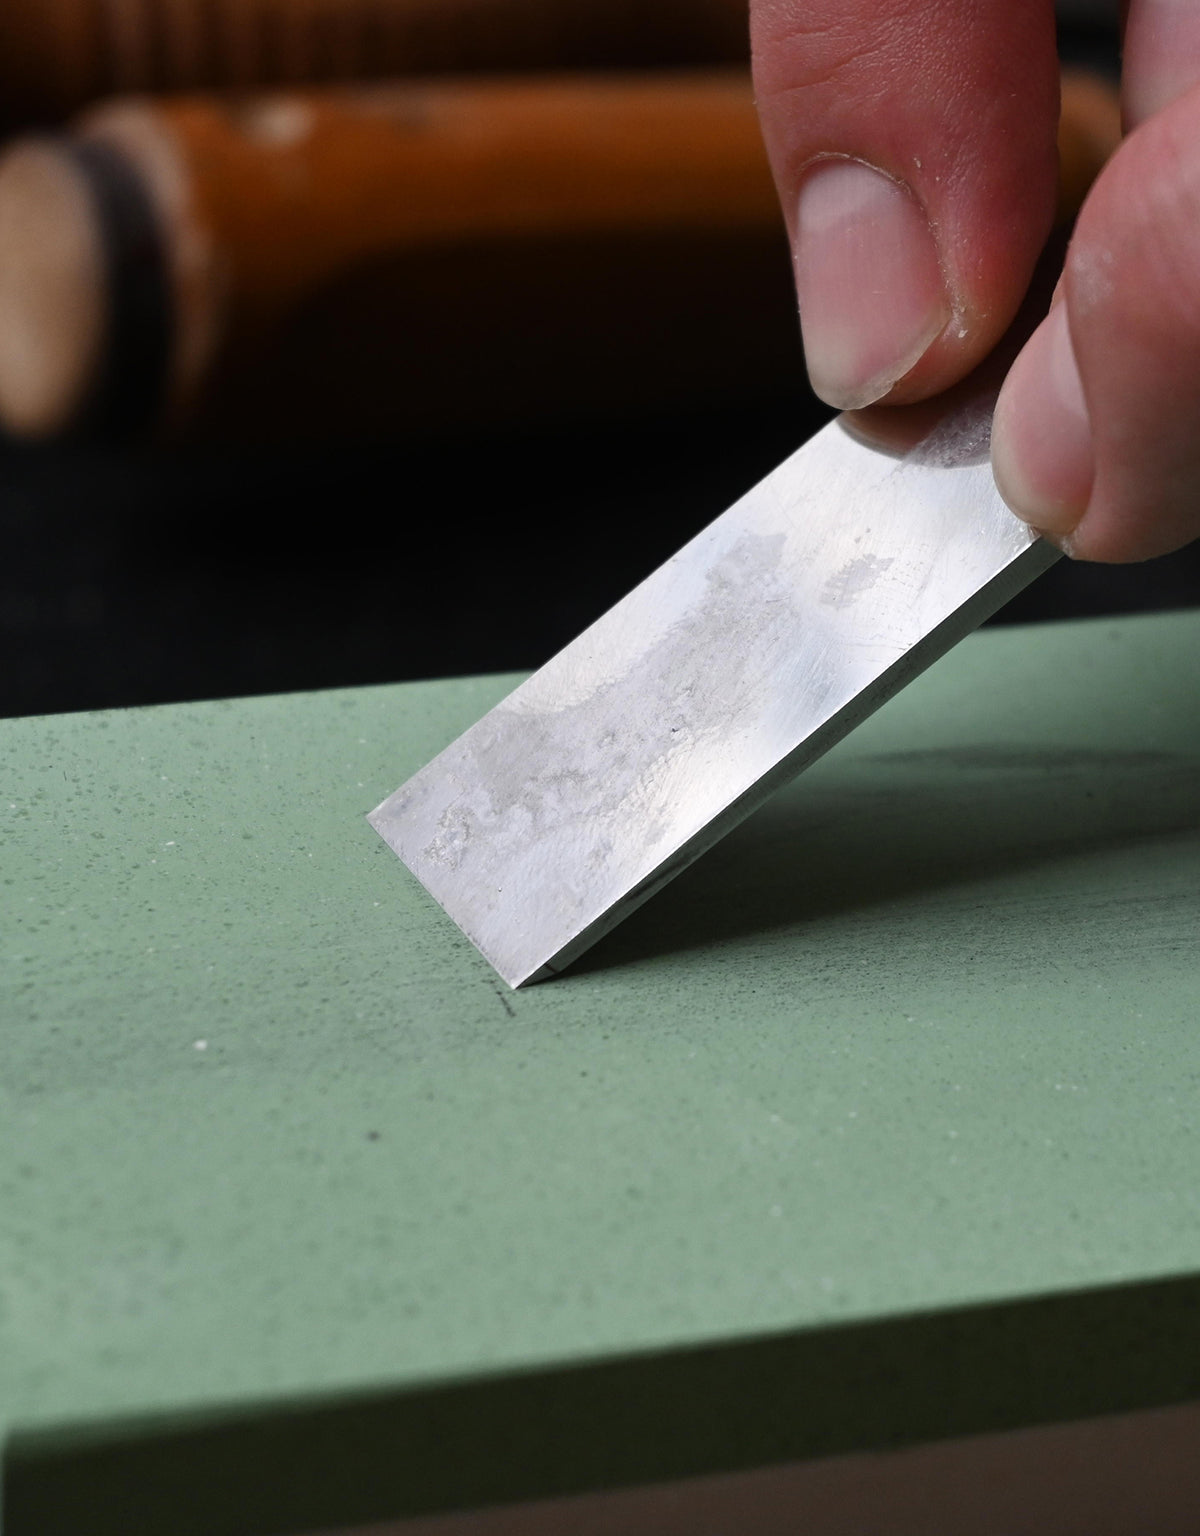
Sharpening and repairing